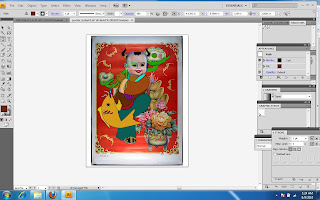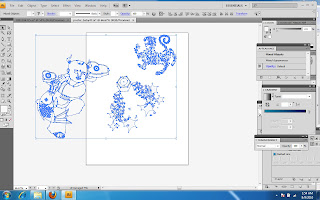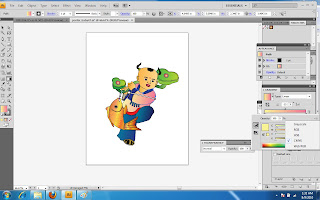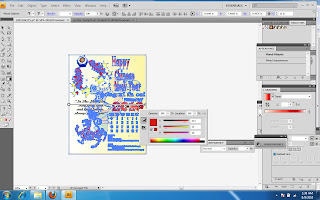
Step 1- Place the Original Photo as a template.
With a new document open, you will want to place the image that you will redraw as a template.The image should appear faded out as the one tothe left is. Select the pen tool in the tool bar, or press "p" on your keyboard.Using the pen tool in illustrator takes some getting used to,as you are drawing by adding points and shaping the lines with the handles that appear after a two anchors have been connected.

step 2- The next two screen shot show the progression of the outline drawing with separated layer.Now,lets fill the object and see how is shaping up.

step 3 - Click on the little arrow in the Color Window's top right corner (this is called a flyout menu) and choose Show Options. Click on the flyout menu for the Gradient Window and do the same.
Then select your object.
Now click on the gradated square in the Gradient Window and your object fills with the default gray gradient.
Keep object selected throughout this whole procedure.At the bottom of the gradient Window, you'll see the gradient slider bar and two default tabs. Click once on the tiny tab on the left.In the Color Window, click on the flyout menu and choose RGB or CMYK and adjust the color slider bars to whatever you like. You should see your gradient and the selected object change. Now click on the gradient slider bar tab on the right. Go to the color window and adjust again.
You'll need to use the flyout menu to get to the CMYK or the RGB menus.
Now you can also drag swatches of color onto those slider bar tabs. But you can't click a slider bar tab and then select a swatch. At least not in the version I work in, they might have improved that. Doubt it, though.

Finally I added some text,number and rotated and make an opacity decreased at the certain part or image for the final calendar below.
I need to see the final version of your calendar.
ReplyDelete